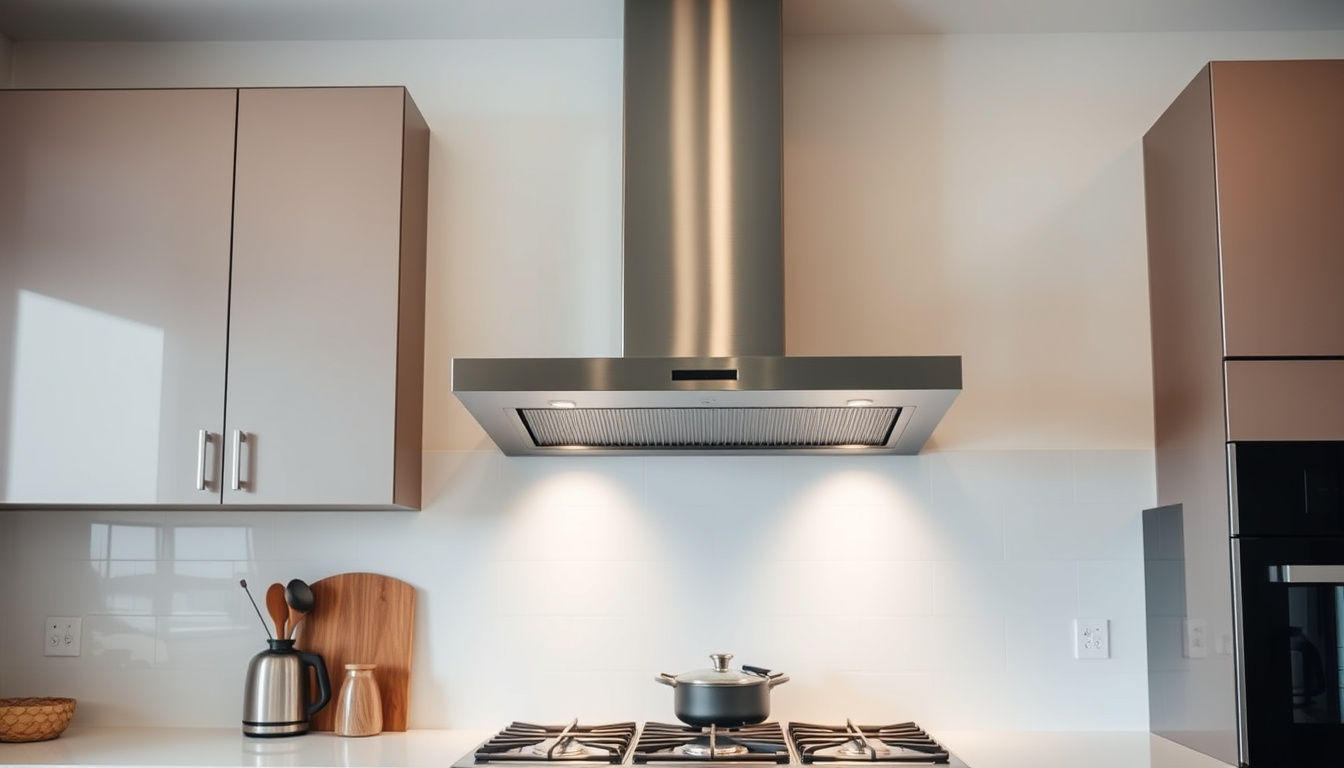
Anyone who’s cooked a searing steak knows the moment the kitchen fills with smoke and the alarm starts its polite protest. A cooker hood prevents that moment — but choosing one involves more than picking a stylish slab of steel. The real decisions sit in the ducting: most manufacturers specify 150 mm pipework, and UK building rules care whether that pipe actually reaches outside air.
UK homes with a cooker hood: 79% ·
Average noise level (modern hoods): 45-65 dB ·
Typical extraction rate (60cm model): 400-650 m³/h ·
Price range (mid-range): $150-$600 ·
Ducted vs recirculating installations: 70% ducted / 30% recirculating
Quick snapshot
- Ducted hoods move air through 150 mm ducting; recirculating hoods need no vent hole at all (Fisher & Paykel appliance manufacturer installation guide).
- “Cooker hood” and “extractor hood” are the same appliance in the UK market. (Fisher & Paykel appliance manufacturer installation guide)
- Hardwired UK installations must comply with Part P electrical safety rules. (Fisher & Paykel appliance manufacturer installation guide)
- Country-level market splits for ducted vs recirculating installs aren’t published consistently. (Howdens kitchen manufacturer installation instructions)
- Independent long-term durability rankings across brands are thin. (Howdens kitchen manufacturer installation instructions)
- Filter layouts vary by model: Howdens mounts carbon filters on the motor sides (Howdens kitchen manufacturer installation instructions), while Miele specifies a separate filter unit such as the DUW 20 (Miele appliance manufacturer installation guide).
- Charcoal filters in recirculating hoods are typically replaced every 3-6 months. (GOV.UK UK building regulations Approved Document F)
- UK Part F ventilation rules bite at build or renovation time, so the hood type affects compliance from day one (GOV.UK UK building regulations Approved Document F).
- Measure the duct route before you buy: short runs in 150 mm rigid ducting beat long flex runs on both airflow and noise. (GOV.UK UK building regulations Approved Document F)
- Pick the mode first — ducted or recirculating — because it decides the hole you cut, the filters you buy, and the electrics you need. (GOV.UK UK building regulations Approved Document F)
- Part F includes cooker hood extraction in the dwelling ventilation calculation, so the hood decision is a compliance decision at build time (GOV.UK UK building regulations Approved Document F).
Seven numbers, one pattern: the middle of the market is consistent on specs, so the duct route and the electrics decide more than the brochure does.
| Spec | Typical value |
|---|---|
| Standard widths | 50 cm, 60 cm, 90 cm |
| Typical airflow range | 300-800 m³/h |
| Noise level range | 40-70 dB |
| Charcoal filter replacement | Every 3-6 months |
| Professional installation cost | $150-$400 |
| Installation types | Ducted, recirculating, hybrid |
| UK compliance | Approved Document F, Volume 1 applies to dwellings and includes cooker hood extraction in ventilation calculations |
What does a cooker hood do and how does it work?
In plain terms, a cooker hood grabs the air above your hob — smoke, steam, cooking odours, and the aerosol of grease that would otherwise settle on every surface — pulls it through filters, and either pushes it outside or returns it cleaned.
The function is identical across price points; what changes is how the air travels, and most of that difference is decided before you buy, by the fabric of your kitchen.
Extraction modes: ducted vs recirculating
- Ducted: air moves through ducting to a wall or ceiling vent and exits the house, taking smoke and steam with it.
- Recirculating: air passes through a carbon filter and comes back into the kitchen — no external vent required.
- Hybrid: one unit can run either way, so the ducting can be added at a later renovation.
Components of a standard cooker hood
- Grease filters (usually metal mesh) catch particles before they reach the motor.
- A carbon filter absorbs odours in recirculating mode and needs regular replacement.
- The fan and motor move the air; a recirculation diverter redirects it when no duct is connected.
The pattern: if you’re weighing a $150 hood against a $600 one, the extra money buys airflow, noise control, and build quality — not a different kind of function.
Ducted hoods extract more effectively, but only when the duct route exists. Recirculating hoods fit almost anywhere, but they put filtered air back into the room — and their carbon filters are a recurring cost.
Do all cooker hoods need to be vented outside?
No. The venting requirement is set by the installation mode you choose, and that decision is usually dictated by your kitchen layout rather than the appliance itself.
Ducted systems and external venting
- Ducted hoods terminate in a wall or ceiling vent; the duct carries smoke and steam out of the building.
- The correct duct diameter is a spec, not a guess — most domestic hoods use 150 mm pipework.
- Keep the run short and straight; long or heavily bent ducts cut airflow and raise noise.
Recirculating hoods and carbon filters
- Recirculating operation does not require a ducting hole in the wall or ceiling when the hood is installed in recirculating mode, but it does need a recirculation diverter and carbon filters to channel air and remove odours (Fisher & Paykel appliance manufacturer installation guide).
- In new UK dwellings, the guidance is blunt: a hood extracting externally is associated with a 30 l/s ventilation rate; no hood — or a hood that doesn’t vent outside — is associated with 60 l/s, and recirculating hoods must be supplemented by a separate mechanical extract fan venting to outside air for compliance (Cata Appliances UK ventilation guide).
- That distinction matters most in new builds, where the ventilation calculation is part of the building-control sign-off.
The catch: ducted beats recirculating on raw extraction, but only if the duct route exists — measure that before you buy, not after.
What is the difference between a cooker hood and an extractor hood?
In the UK market, the honest answer is that there isn’t one. The two names describe the same appliance, and retailers use them interchangeably.
Terminology overlap in consumer appliances
- “Cooker hood” and “extractor hood” refer to the same appliance; the label is a regional or retail preference, not a product category.
- Neither term tells you whether the unit is ducted, recirculating, or hybrid — that’s an installation detail, not a naming detail.
Design variations and market positioning
- The first functional split is installation type: ducted, recirculating, or hybrid that can handle both modes.
- Miele’s installation guidance makes the same point in practice: it distinguishes air extraction and recirculating installation types before the hood is even mounted (Miele PUR appliance manufacturer installation guide).
- Marketing names emphasise looks and size; the numbers that matter are airflow (m³/h) and noise (dB).
What this means: when you compare prices, ignore the label and read the airflow and noise figures instead.
Do you need an electrician to fit a cooker hood?
It depends on one detail: whether the hood arrives with a plug or is designed to be hardwired. That detail decides if the job is a Saturday DIY project or a visit from a qualified electrician.
Electrical requirements (fused spur, plug)
- Plug-in models connect to an ordinary socket — no wiring work, so no electrician is required for the electrical side.
- Hardwired models need a fused spur and fixed wiring, which should be done by a qualified electrician.
- UK kitchen fixed-wiring work falls under Part P of the Building Regulations, so a hardwired installation should be certified.
DIY installation vs professional electrician
- If the hood has a plug, mounting, ducting, and filters are genuinely DIY-friendly for a competent homeowner.
- If it’s hardwired, budget for an electrician; professional installation typically runs $150-$400.
- An outside wall with a short duct run is the easiest DIY case; an island or ceiling duct is the hardest.
The implication: a plug-in hood is a DIY job, but a hardwired hood in a UK kitchen is regulated work — the electrician isn’t optional.
Can I install a cooker hood myself?
Yes, if you’re handy, the hood has a plug, and the duct route is straightforward. The sequence below follows the order manufacturers and UK guidance use.
Step-by-step installation guide for ducted hoods
The job splits into mechanical work you can do and electrical work you shouldn’t: mounting, ducting, and filters are DIY; hardwiring is not.
- Decide the mode first — ducted or recirculating — because every later step changes.
- Plan the duct route: keep runs short, use the manufacturer’s recommended diameter (typically 150 mm), avoid 90° elbows, and terminate with a wall or ceiling vent fitted with a non-return flap (Cata Appliances UK ventilation guide).
- Mark the mounting position and the duct hole using a spirit level; check the hood’s installation template and clearance dimensions before drilling.
- Cut the duct hole and mount the hood securely — through the wall for ducted mode, or with the internal components configured for recirculating mode.
- Connect the ducting: rigid 150 mm pipe for best airflow, or flexible pipe with a recirculating T-piece secured with cable ties or duct tape (Electrolux appliance manufacturer installation guide).
- If recirculating, fit the carbon filters — Howdens’ instructions attach them to the sides of the motor (Howdens kitchen manufacturer installation instructions).
- For hardwired units, leave the electrical connection to a qualified electrician after the mechanical work is finished.
Tools and safety precautions
- You’ll need a drill with holesaw, spirit level, pencil, screwdriver, ladder, gloves, and a dust mask.
- Use the right ducting: rigid 150 mm where possible; flex only when necessary.
- Isolate the power supply before any electrical work, and have a qualified electrician make the final connection on hardwired models.
- Respect the manufacturer’s clearances for ceiling and cabinet gaps — they vary by model.
The pattern: the duct run is the real project. If it turns into metres of flex pipe with sharp bends, both airflow and noise will suffer — and that’s the moment to call a professional installer.
Ducted vs recirculating: which should you choose?
One decision, two routes: ducted moves the problem outside; recirculating filters it back into the room.
| Decision point | Ducted | Recirculating |
|---|---|---|
| External vent | Required — wall or ceiling duct to outside air | Not required — air returns to the kitchen |
| Key ducting components | Rigid 150 mm duct, short runs, non-return flap at the vent | Recirculating T-piece and flexible pipe secured with cable ties or duct tape (Electrolux appliance manufacturer installation guide) |
| Ongoing maintenance | Clean grease filters regularly | Replace carbon filters every 3-6 months |
| UK Part F treatment | Counts as external extraction in dwelling ventilation calculations | Needs a separate mechanical extract fan venting outside in new dwellings (Cata Appliances UK ventilation guide) |
The catch: UK Part F treats a recirculating hood as incomplete ventilation in new dwellings. A buyer who skips the separate mechanical extract fan can face a retrofit once the kitchen is finished.
The implication: the duct route is a structural decision; the hood is just the appliance bolted to it. Change the hood later and the duct stays — so get the route right first.
Cooker hood specifications at a glance
Seven spec points, one pattern: the figures installers actually ask for are duct size, filter type, and clearance — not the marketing name.
| Spec | Typical value |
|---|---|
| Standard widths | 50 cm, 60 cm, 90 cm |
| Typical airflow range | 300-800 m³/h |
| Noise level range | 40-70 dB |
| Ducting | 150 mm rigid or semi-rigid; some models require a 160 mm minimum round hole in the wall or ceiling (Fisher & Paykel appliance manufacturer installation guide) |
| Recirculating filter arrangement | Same principle, different layouts — check the manual for your model |
| Charcoal filter replacement | Every 3-6 months in recirculating mode |
| Professional installation cost | $150-$400 |
The m³/h figure is the fan’s best day, not your kitchen’s. Duct length and elbows decide what actually reaches the room, so a modest hood with a short rigid duct often outperforms a bigger one strung through flex pipe.
The takeaway: the fan’s rated airflow is potential; the duct route is delivery.
The upsides and downsides of cooker hoods
Every ventilation option is a trade; the question is which trade your kitchen makes willingly.
Upsides
- Removes cooking smoke, steam, and odours at the source before they reach the whole house.
- Reduces moisture and grease buildup on cabinets, tiles, and ceilings.
- Recirculating models work in kitchens with no outside wall access.
- A ducted hood contributes to the ventilation performance UK Part F expects from a dwelling.
Downsides
- Recirculating mode alone doesn’t satisfy Part F for new UK dwellings; a separate mechanical extract fan is needed.
- Carbon filters are a recurring cost — replaced every 3-6 months.
- Hardwired units require a qualified electrician and Part P certification.
- Poor ducting (long runs or 90° elbows) raises noise and cuts airflow.
The balance: the upsides compound when the hood matches the ventilation route; the downsides compound when it doesn’t.
What’s confirmed and what’s still unclear
The research on cooker hoods is solid on hardware and wiring, thinner on long-term brand performance.
Confirmed facts
- “Cooker hood” and “extractor hood” are the same appliance in the UK market.
- Recirculating hoods don’t need an external wall vent.
- Hardwired installations must comply with UK Part P electrical rules.
What’s unclear
- Exact country-level market splits for ducted vs recirculating installations.
- Long-term durability rankings across brands.
- Real-world airflow depends on duct length and elbows, so advertised m³/h figures don’t guarantee actual extraction in your kitchen.
- Which filter layout your model needs is brand-specific — check the manual rather than assuming one arrangement fits all.
The pattern: the certainties are about hardware and wiring; the uncertainties are about real-world performance — which is why the duct plan matters more than the brand badge.
What the guidance actually says
Manufacturer manuals and UK regulation converge on the same few points — here’s what each one stresses.
Approved Document F, Volume 1 applies to dwellings and includes cooker hood extraction in the ventilation considerations.
GOV.UK UK building regulations Approved Document F
Carbon filters should be attached to the sides of the motor for recirculation mode.
Howdens kitchen manufacturer installation instructions
A recirculating setup uses a recirculating T-piece and flexible pipe secured with cable ties or duct tape.
Installation guidance distinguishes between air extraction and recirculating installation types before mounting and connecting the hood.
The through-line: manufacturers care about installation sequence; regulators care about airflow; buyers should care about both.
Making the call
For most UK kitchens, the decision is the duct route. If you can run a short, rigid 150 mm duct to an outside wall or through the ceiling, a ducted hood is the stronger buy: better extraction, fewer consumables, and it contributes to the ventilation rates Part F expects. If there’s no practical route, a recirculating hood still works — but treat it as a deliberate compromise, not a free pass. Whichever route you pick, the installation manual and the duct plan are the two documents that matter. A UK homeowner renovating a kitchen should choose ducted if the duct route exists, and plan the recirculating mode plus a mechanical extract fan before the plasterboard goes up if it doesn’t.
s.productreview.com.au, linqcdn.avbportal.com, scribd.com, d2a7uujil7d64c.cloudfront.net, manuals.plus, images.webfronts.com
Frequently asked questions
Should a cooker hood touch the ceiling?
No. Hoods are mounted below the ceiling with clearances set by the manufacturer, and the gap matters for ducting access and for fitting a ceiling vent where the duct terminates. The exact dimension is in the model’s installation instructions — it’s a spec, not a stylistic choice.
Should there be a gap between cooker hood and cupboards?
Yes — most installations keep a working gap so cabinet doors open fully and the hood can be removed for filter access. Manufacturers specify the clearance in the manual, and it affects duct routing, so it’s easier to solve before the cabinets are fitted.
Does a cooker hood have to be on an outside wall?
Only if it’s ducted. A recirculating hood filters air and returns it to the kitchen, so no outside wall is needed. A ducted hood needs a route to outside air, which can go through a wall or up through the ceiling.
Is there an alternative to a cooker hood?
Yes. Where a hood won’t fit, the practical alternative is a mechanical extract fan vented to outside air — which is also what UK guidance expects alongside a recirculating hood in new dwellings. Hybrid hoods with ducted and recirculating modes are another option, so venting can be added later.
Does a cooker hood need a fused spur?
Plug-in models don’t — they connect to an ordinary socket. Hardwired models are connected to a fused spur, and in the UK that fixed wiring should be done by a qualified electrician under Part P rules.
Can I vent my cooker hood through the wall?
Yes — that’s the standard route for ducted installations. Keep the duct run short, use the manufacturer’s recommended diameter (typically 150 mm), and finish with a wall or ceiling vent that has a non-return flap.
Related reading
- Worktop Kitchen Ireland 2026: Prices, Trends & Best Material — kitchen renovation planning, including surface choices that pair with a new hood.
- Dart Distance: Official Measurements and Setup Guide — a practical how-to on measurements and installation from the same publisher.

George Thompson is Senior Reporter at UrbanMixr.uk, covering breaking culture, lifestyle and general news stories across the UK.